In this article, you'll learn how to create web experiences with touch gestures using simple and easy HTML, CSS and a little bit of jQuery.
I Googled to find a few different frameworks from jQuery mobile to Wipetouch as well as several others. All the frameworks I tried were either too complex to use or not very responsive on mobile browsers which completely defeats the purpose.
Finally, I tried another framework called HammerJS, and this worked the way I wanted. It was simple, easy to use and the swipe gesture is very responsive for platforms in iOS and Android alike.
Note: the demo is made to run on iPad and other gesture-capable tablets but it runs well on desktop browsers too. For desktop, in place of swipe, the user can slide the mouse pointer. To see the final result you can open the link on your iPad or Android tablet then swipe the finger from left to right on the appropriate areas.
Demo: http://jsfiddle.net/uZjCB/2/
Let's Begin
First let's lay down some basic HTML:
[code] Gesture Recognition
swipe
drag
[/code]
And a little CSS:
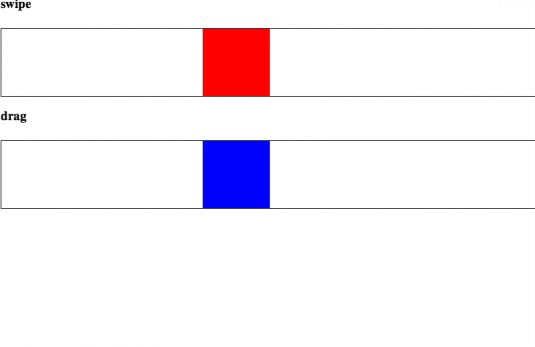
[code] body { width:100%; margin:0; padding:0; font-family:Helvetica, sans-serif; font-size:14px; color:#333; } .wrapper { position: relative; width: 768px; margin: auto; } body { overflow:hidden; height: 100%; } .colorContainer { position: relative; padding:0 200px; width: 100%; border: 1px solid; margin-top: 25px; } .color{ position: relative; left: 100px; width:100px; height:100px; cursor:pointer; } #red .color { background: red; } #blue .color { background: blue; } [/code] You should now have an output like below:

HammerJS
The markup for HammerJS is actually quite easy to understand.
[code] $(function(){ var red = document.getElementById("red"), blue = document.getElementById("blue"); //jquery.hammer.js // $(red).hammer().on("swipe", function(event) { // if(event.gesture.direction === "right") { // $(this).find(".color").animate({left: "+=100"}, 500); // } else if(event.gesture.direction === "left") { // $(this).find(".color").animate({left: "-=100"}, 500); // } // $("#event").text(event.gesture.direction); // }); //hammer.js //Swipe Hammer(red).on("swipeleft", function() { $(this).find(".color").animate({left: "-=100"}, 500); $("#event").text("swipe left"); }); Hammer(red).on("swiperight", function() { $(this).find(".color").animate({left: "+=100"}, 500); $("#event").text("swipe right"); }); // Drag Hammer(blue).on("dragleft", function() { $(this).find(".color").animate({left: "-=100"}, 500); $("#event").text("drag left"); }); Hammer(blue).on("dragright", function() { $(this).find(".color").animate({left: "+=100"}, 500); $("#event").text("drag right"); }); }); [/code] The first step is to target the objects you would like HammerJS to listen for. In this case the red or blue id tag in our HTML code. We call the hammer function, the target object, and simply set some rules or parameters for what to do based on what action is performed or detected by the HammerJS library. As you can see HammerJS is only useful if you know a little jQuery. It simply allows you to listen to gesture commands thus enabling them to perform certain jQuery actions on virtually any object via gesture recognition.
Conclusion
I put together a simple jsFiddle in case you have some troubles getting your local version working. Have fun implementing the HammerJS in any way you like, however please know that it is definitely possible to overdo gesture recognition commands. Adding too many gesture events could make it confusing to experience the web application you are developing and lead to frustration, which is not a good thing. Be selective and try to implement only 1 or 2 gesture features on your site in sections like navigation bars.
